|
Fun fact: Did you know that the first magnets were pieces of rock, called "lodestones"? These rock contain magnetite, which is naturally attracted to iron. What if told you we could make our own magnets? That's right! It's called magnetic induction and we're going to try it today! Basically, if you run a magnet several times over an unmagnetized piece of a magnetic material (such as an iron nail), you can convert it into a magnet as well. This is called magnetization.
Let's think about the following questions together before we start our investigation:
Are you ready to make your own magnet? Please take out your "Making a Magnet" activity sheet as well as a pencil, eraser and Science kit. (Check out the LearnoHub's video below to perform this simple DIY science experiment at home.)
0 Comments
Now that you've designed your castle tower, let's make a step-by-step plan for each part of your castle tower: each wall (frame), foundation, door/drawbridge, arched windows, roof, and whatever else you've added to your castle design (e.g., portcullis). Please be sure to use sequencers (first, then, next, after that, and finally). Have a look at the step-by-step examples from the "Castle Attack: Make Your Own Medieval Battlefield" book on Epic!: That's right! You are going to build a castle tower! Visit DK Findout! to learn about castles: https://www.dkfindout.com/us/history/castles/. Then, start thinking about the materials you will need for: the foundation, frame, joints, door, windows, and roof. Click here to read books in Ms Soltes's Castles! collection on Epic! If I had to pick one book for you to read from the Castles! collection, it's "Castle Attack: Make Your Own Medieval Battlefield".
Here's what we're doing tomorrow (Tuesday): 1. Take out your Science workbook. Sketch two (2) designs of a castle tower that you'd like to build. Your tower must include:
3. Label all of the parts of your castle. 4. Make a list of the materials you are going to need to build your castle. (Use the lined pages on the right side of your Science workbook.) On Wednesday, we'll write a step-by-step plan for how you are going to build your castle. Today we learned about gussets! Gussets are pieces of material that make joints stronger. Gussets are often made of metal, but we made them using cardboard. Check out our designs / solutions: We used a small piece of tack-it to join together two (2) popsicle sticks and a small piece of cardboard for our gussets. (Students were not provided with instructions on how to create the gussets). What did we learn? After pushing on the post-and-beam shape, we noticed that gussets did in fact help make our joints stronger! The popsicle sticks hardly moved! I wonder, does the size of the gusset affect the strength of the gusset? Feel free to share your thinking in the comment box below. Here are some other ways you can join pieces of cardboard together (these may come in handy for your Super Secret Structure!:  Check out this bridge frame that is made using popsicle sticks and binder clips. Do you think binder clips are a strong joining material? Next, have a look at the da Vinci bridge (2nd image)! It's a clever little popsicle stick bridge that holds together without glue, tape, or any other adhesive! (This means it does not have any rigid joints.) Do you think that this self-supporting bridge is a strong and stable structure?  (All three images are examples of mobile/moveable joints.) For this lesson, we’re going to practice joining materials together. Joints are places where two or more pieces of a structure are joined together. How did you join the pipe cleaners together when we made square and domed frames? Sometimes you can make a joint without extra materials! Sometimes you need to use another material, like tape or modelling clay. How many joints can you make? (Keep in mind, how you join materials together is a critical decision because structures are often weakest where their parts are joined together.) Here are your instructions:
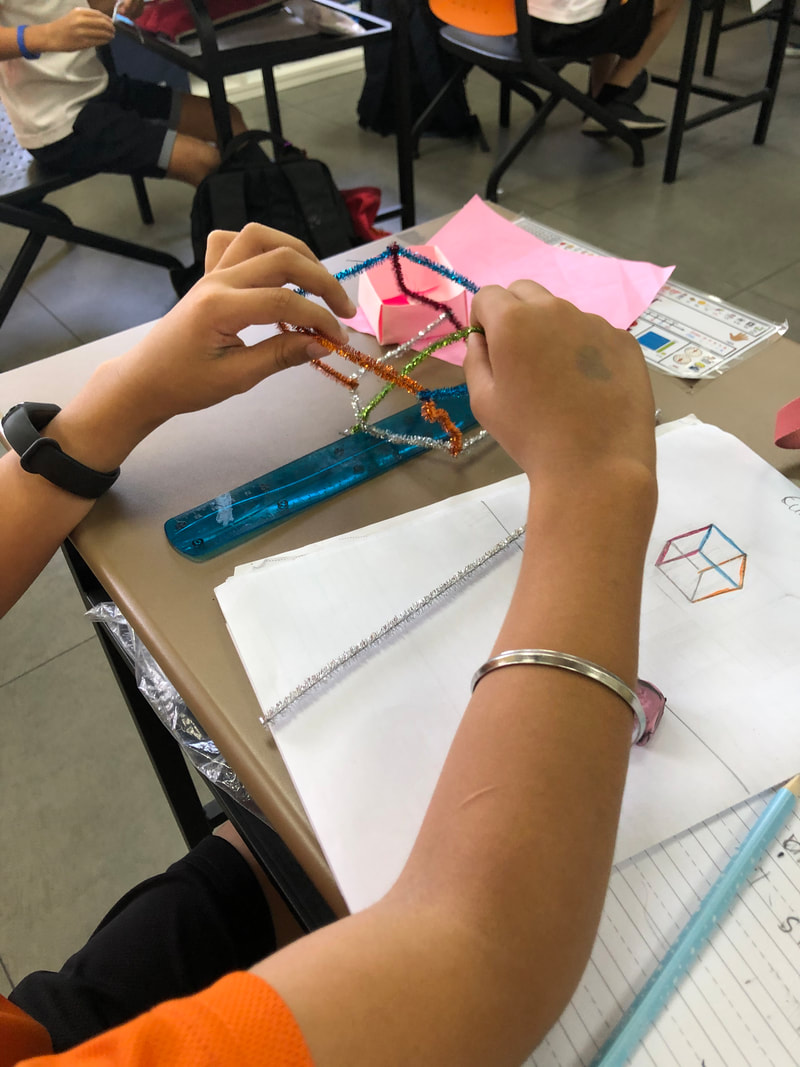
Here are some photos from the "Join Together" investigation that we started on Tuesday. We had the option to join our eight (8) popsicle sticks using rubber bands, yarn, tape, or binder clips. You'll notice that many of you chose to use binder clips! We learned that binder clips can join popsicle sticks together. However, a push and pull test showed that binder clips on their own do not create rigid joints. We will continue our investigation today and learn how to make joints stronger! How strong do you think domes are? Using four pipe cleaners and some modelling clay we created a frame for a dome. When then tested the strength of the structure and quickly noticed that the domed frame is stronger than the square frame (or cube). Why?! The shape of a dome frame spreads forces through the whole structure. Each part of the structure supports only a small part of the marble load, and the complete structure can be amazingly strong.
Have a look through the pictures above. These are examples of domed structures all around the world. The dome, is another shape used in structures. Domes can be used for roofs or for whole buildings. Notice that it's like an upside-down bowl. Domed buildings usually combine frame and shell construction. The dome forms a shell, which gains strength from its curved shape. The dome itself is often a thin layer of cloth, metal, wood, or concrete stretched over a wood or metal frame. Sometimes only the roof of a domed structure is a shell, placed on top of framed walls.
Up next: We will create a domed framed using pipe cleaners. How strong do you think it will be? Do you think it will be stronger than the square frame (cube) we made? How many marbles do you think it will hold? Last week we learned to make a cube using (4) pipe cleaners and then put it to a load test. We placed an origami box on top of the cube and added marbles to it, one-by-one. How many marbles could the frame made of pipe cleaners hold? Here's a list of our key learnings from the load test (we'll add more points to our list today):
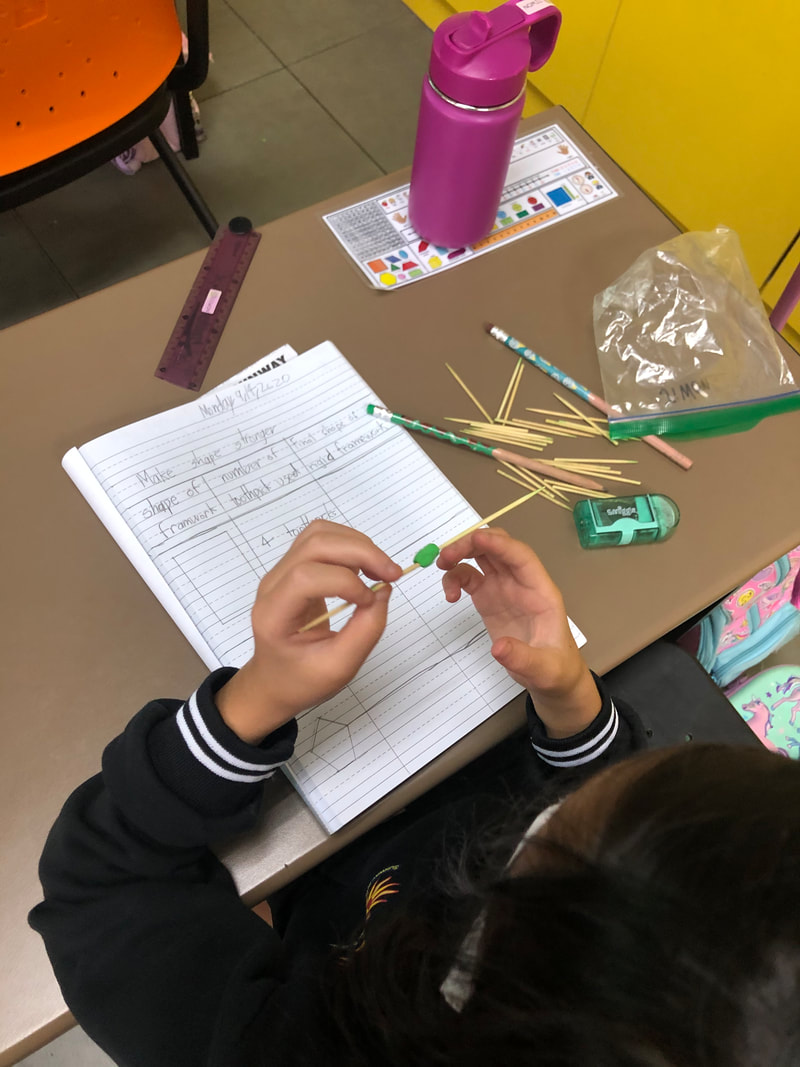
On Tuesday, we returned to our toothpick and modelling clay kits to explore how to make 2-D shapes stronger. We learned that builders often add pieces to the frame of a structure to strengthen it. The extra pieces keep other parts of the frame from moving in or out. Have a look through the images below to see the different things we tried to make squares, rectangles, and pentagons more rigid. Many of us added posts and beams to reinforce the shapes:
Today, we are going to continue our exploration using a 3-D shape! We will learn how to make a pipe cleaner cube and put it to a weight test. How many marbles do you think a pipe cleaner cube will hold? We will also learn how to create this simple origami box to hold our marbles (if you have origami paper at home you can practice making it on your own):
Watch this SciShow Kids video below on what makes bridges so strong. You'll learn that builders add pieces to the frame of a bridge to strengthen it.
(A triangle is under both tension and compression. When weight rests on a triangle, the two sides that meet at the top are under compression. The third side (bottom side) of the triangle is in tension because it is being pulled at either end by the other two sides. It keeps the other two sides from pulling apart.)
|
AuthorWelcome! My name is Ms Soltes and I am one of the Grade 3 teachers at Sunway International School. This is the 3B classroom blog and it is the best way to find out what the 3B kiddos are up to in class! Archives
November 2020
Categories
All
|


 RSS Feed
